
Getting Your Bike Ready for Coastal Riding
Check tire pressure, brakes, and gears before you ride. We walk through the simple pre-ride checks that keep you safe on flat terrain.

Why Pre-Ride Checks Matter
Before you head out on the Liepāja Loop or any coastal route, spend five minutes checking your bike. It's not complicated. We're talking about the basics that prevent flat tires, brake failures, and wobbly wheels. The good news? You don't need special tools or expertise.
Most riders who've been cycling for years still follow the same simple routine every time. It becomes automatic. You'll check your tires, squeeze the brakes, and spin the wheels. That's it. You're done and ready to go.

Tire Pressure — The Most Important Check
This is where most people start. Your tire pressure affects everything — how your bike rolls, how much effort you need to pedal, and whether you'll get a flat. Underinflated tires are sluggish and prone to pinch flats. Overinflated tires are harsh and less forgiving on rough pavement.
Look at the sidewall of your tire. You'll see a range, usually something like "80-120 PSI" or "4-6 bar." For coastal riding on flat terrain, you'll want to aim for the middle-to-upper range. If your tire says 80-120 PSI, try 100-110. Don't guess — use a pump with a gauge.
Pro tip: Check pressure when it's cool. Tires warm up from riding, and the pressure increases. If you check after a ride, you'll get a false reading.
Squeeze the tire with your thumb and finger. You should feel some give, but not much. If it's rock hard or feels mushy, you've found your problem. Adjust before you ride.

Brakes — Your Safety Line
Squeeze both brake levers. They should feel firm and responsive. There shouldn't be a lot of free movement before the brakes engage. If the levers feel spongy or pull all the way to the handlebar, something's wrong.
For rim brakes (the most common on older bikes), look at the brake pads. They should have at least a few millimeters of rubber left. If they're worn down to thin lines, replace them before riding. Worn pads don't stop well, and they can damage your rims.
Spin the wheel slowly. The brake pads shouldn't rub against the rim when the brakes aren't engaged. If you hear a squeaking or grinding sound, the pads are too close. You'll need to adjust them slightly, but don't worry — it's straightforward with an Allen key.
Quick brake check steps:
- Pull each brake lever — should feel firm
- Spin wheels — pads shouldn't rub
- Look at pad thickness — at least 2-3mm of rubber
- Listen for squeaks or grinding
Disclaimer: This article provides educational information about basic bike maintenance for informational purposes only. It's not a substitute for professional bike repair services. If you're unsure about any adjustment or repair, consult a qualified bike mechanic. Always prioritize your safety and the safety of others on the road.
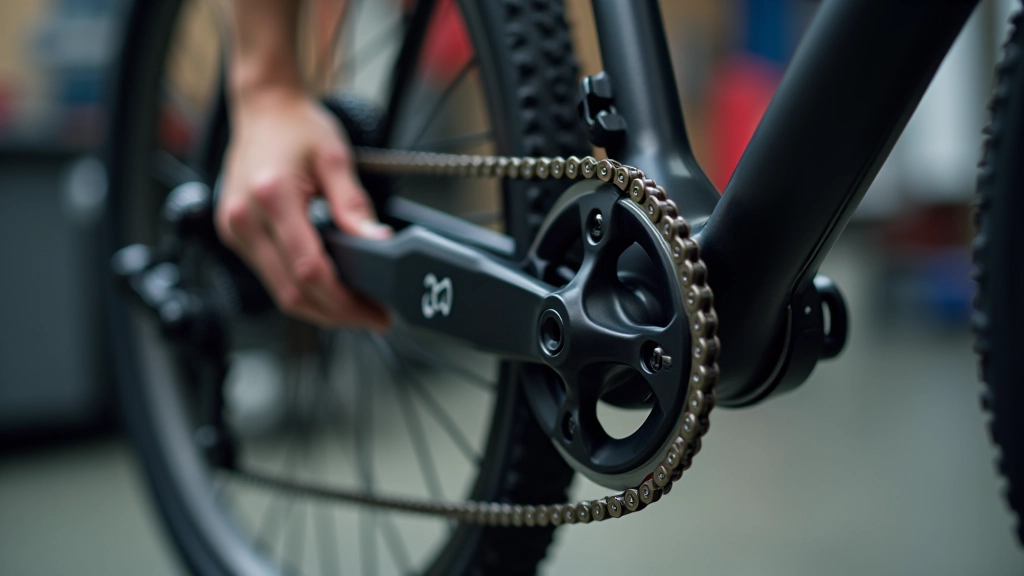
Gears and Chain — Smooth Operation
Shift through all the gears while the bike's stationary. You'll hear a click-click-click as you move from one gear to the next. Each shift should be clean and quick. If the chain struggles to move to a particular gear, or if it makes grinding noises, the cable tension might need adjusting.
Look at your chain. It should be clean and shiny, not rusty or caked with dirt. A dirty chain wears faster and doesn't shift as smoothly. If it's filthy, wipe it down with a dry cloth. A light coat of chain lube helps, but don't overdo it — excess lube attracts dirt.
Coastal routes are flat, so you won't need to worry about extreme gear ranges. But smooth shifting makes the ride more enjoyable. You'll spend less energy fighting a balky drivetrain.
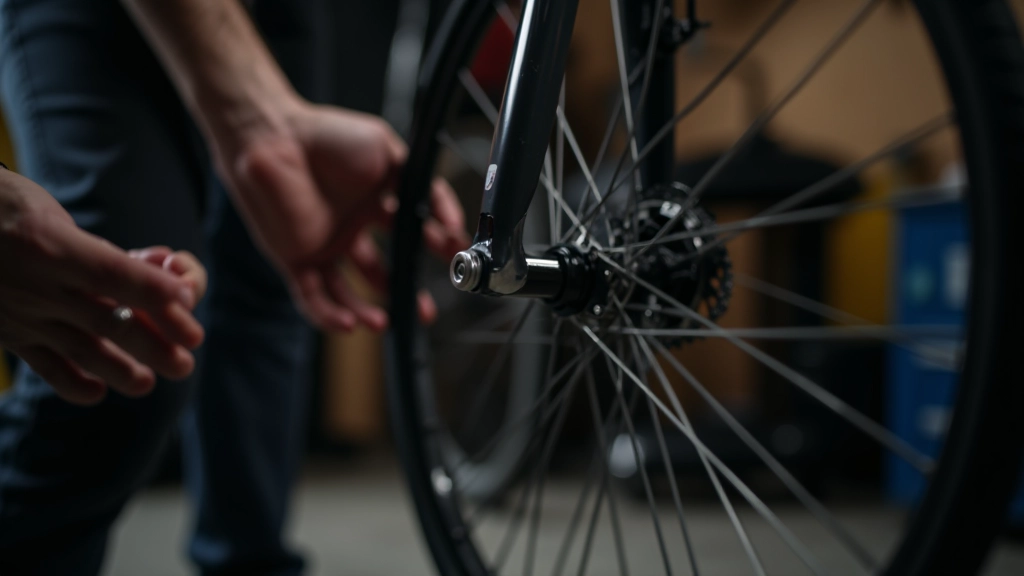
Wheels — Straight and True
Lift the bike and spin each wheel. Watch it rotate. It should spin freely without wobbling side-to-side. If it looks like a figure-eight instead of a circle, the wheel's out of true. That's not dangerous for casual riding, but it'll make your bike feel awkward and can cause rubbing against the brake pads.
Check the axles. Hold the wheel at the rim and try to move it back and forth. There shouldn't be any play. If the wheel feels loose, the axle nut needs tightening. You'll use an Allen key or wrench depending on your bike model.
Spin the wheel again. Listen for any clicking or grinding sounds. These usually mean loose spokes or a bent rim. For minor issues, a few minutes with a spoke wrench can help. But if the wheel's severely damaged, it's time to visit a bike shop.
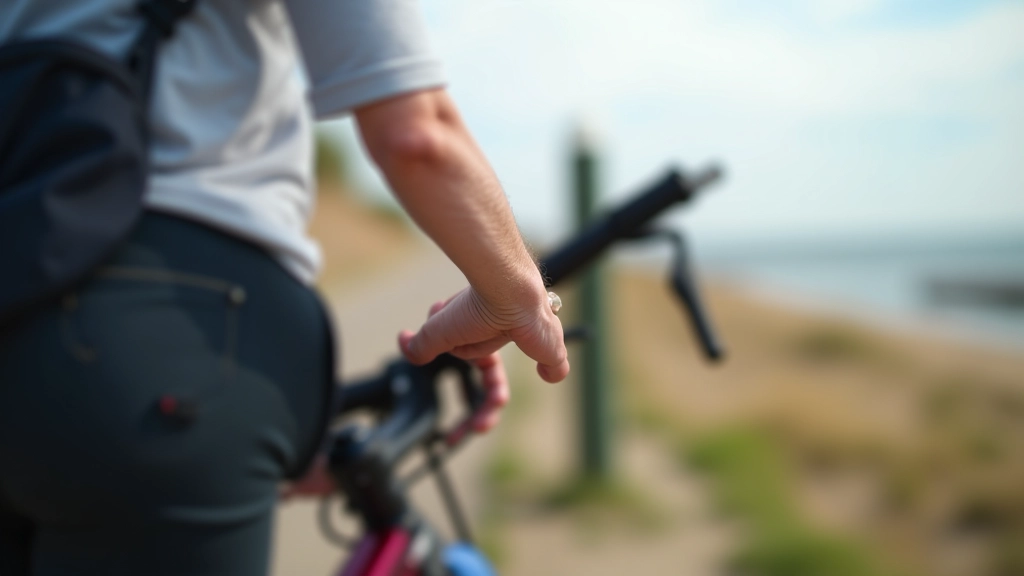
You're Ready to Ride
That's the entire pre-ride routine. Tires, brakes, gears, and wheels. Five minutes of attention before you leave home makes all the difference. You'll ride with confidence, knowing your bike is in good shape.
The Liepāja Loop and other coastal routes are perfect for cycling. The terrain's flat, the views are beautiful, and you don't need a fancy racing bike. Just a well-maintained one. Once you get into the habit of these quick checks, they become second nature. Soon you won't even think about it — you'll just know your bike's ready.
Start with these basics. Once you're comfortable, you can explore more advanced maintenance. But honestly? Most riders never need to go beyond these checks.
Continue Your Journey

